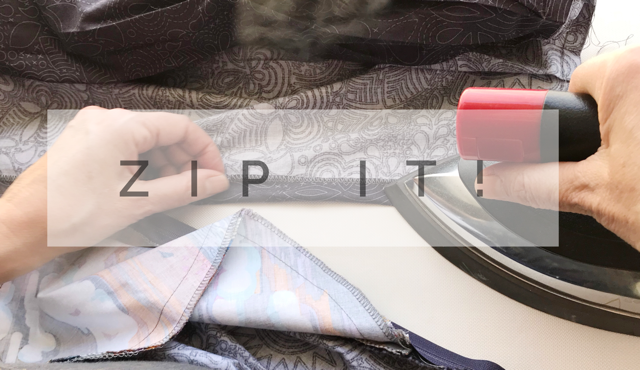
Click here for Part 4 in the sew along.
Hope you guys are all caught up on the posts and are ready to zip it!
Admittedly, this zipper installation is a bit fiddly but it is worth it. This part of the sew along will take you step by step through the zipper. In the end, you'll see the benefits of this arrangement- in spite of the fiddly factor.
Let's get fiddlin!
Tip to get you started: Stitch the seam allowances of the pocket together above the pocket opening, as shown, keeping the Skirt piece free.

We'll be working with the Front Skirt facing right side up. Open up the zipper and place it face down at left side seam where the entire pocket is stitched to the side seam. The zipper coil should start 3/4" from the waist edge. .
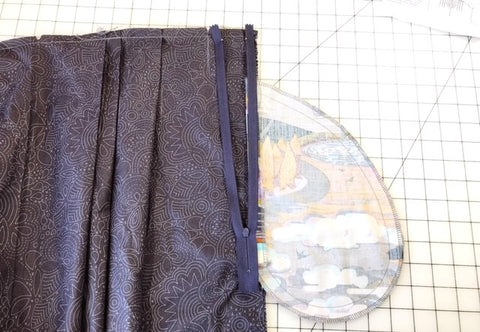
Align the zipper tape with the fabric as shown. The zipper coil falls within the seam allowance.

Stitch from the waist edge to the pockets and back stitch.
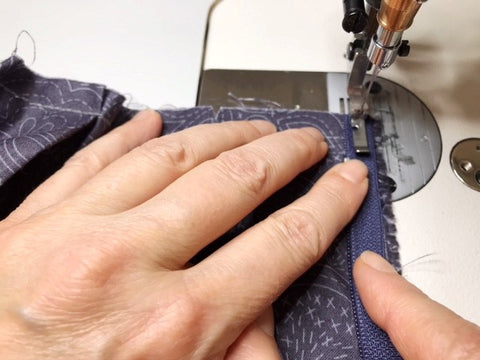

Now, flip the Pocket to the left, under the skirt, and continue stitching the zipper to loose seam allowance of the pocket at the pocket opening. Back stitch at the bottom of the Pocket.


Next, with right sides together, align the side seam of the Skirt Back.
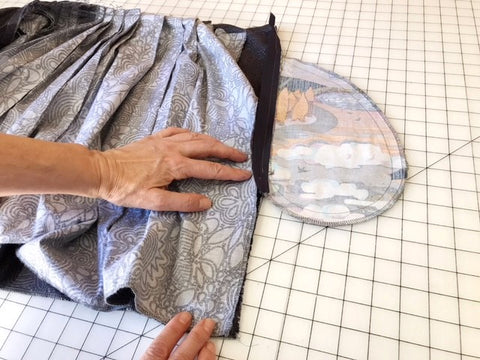
Stitch the left side seam below the Pocket keeping the the zipper tape free from the seam.


Press seam open below the Pocket.

On Skirt Back, turn in seam allowance above above zipper as shown.


Place the skirt on your work surface right side up. The pocket should be flipped towards the left leaving the remaining side of the zipper exposed and right side up. Close the zipper and place the folded edge of the seam allowance near the zipper coil. Everything should lie flat and be nicely aligned.

Pin in place and open the zipper to stitch it. Stitch fairly close to the coils.

Tip: Depending on your zipper length, you might need to stitch across the zipper at the bottom of the opening to keep the zipper pull from disappearing.

Congratulations! The zipper is done! A little bit of unusual application but it was the best option for this skirt.

Sides and Pleats
To form the left side pleat, open the zipper. Turn the Front Skirt back along the side reference line (SRL - marked in white chalk.) Baste in place along waist edge.
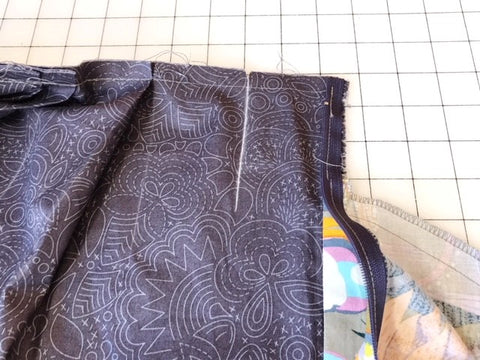
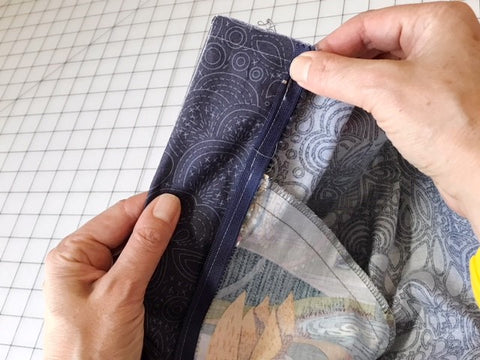
When the zipper is closed, the pleat is formed when the Front fold aligns with the SRL on the Skirt back.


Before stitching the right side seam, you can mark the pivot points at the pocket opening if you want total precision. The pivot points are at the corners of the seam allowance on the Pocket. The upper pivot point is circled in red.

Stitch the right side seam, right sides together, matching notches. The Pocket pieces should align so you can pivot at Pocket corner and stitch perimeter of Pockets.
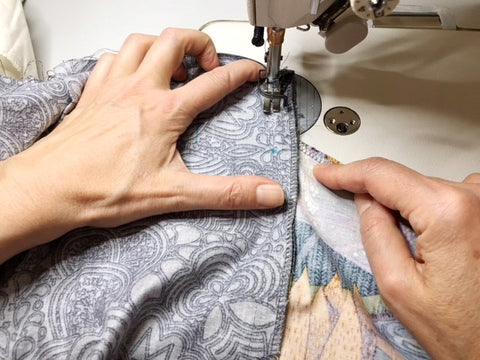

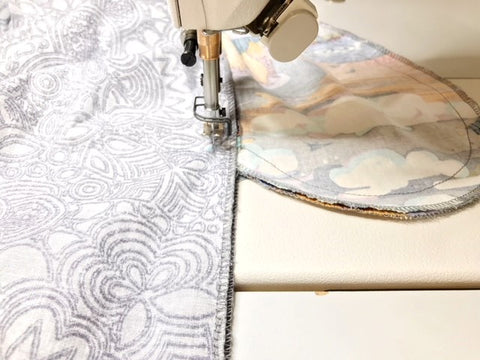
Press seam open below pocket. (oops! apparently, there is no photo for this side. lol!)
To make the right side pleat, baste along SRL with right sides together, (SRL marked in blue)

Press Pocket towards skirt front and baste at waist edge. (You will remove this basting when the skirt is finished)


Now you have what looks like an unfinished mini skirt.
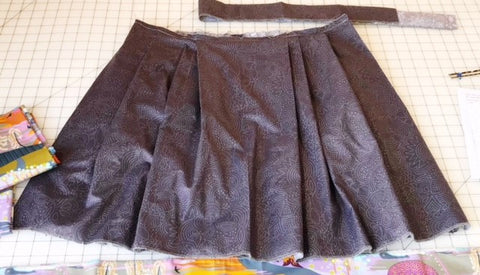
That's enough for now. Next time we'll make the waist binding and Skirt Band. We'll be showing you a trick to weighting the hemline that is all done by machine!
Thanks for reading and sewing along!
Click here for the final installment in the sew along.

