Click here for previous sew along installment.
You have cut out your pieces at this point and you all used the cutting layout diagram - right? The yardage requirements don’t leave massive amounts of extra fabric to cut your bias. If you want an easier time of it, you can use something from your stash for contrasting hat band and/or brim binding - all combos looks nice for this one whether it’s everything done in a single cloth or multiple fabrics.
Here we go!
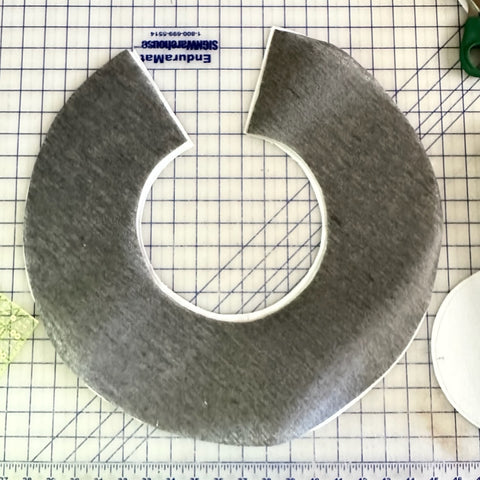
It’s in the instructions but we are going to reiterate DO NOT skip step 1!! The bulk of the fusible fleece in the seam allowance will impact the fit of your hat and it will be too late to remove it by the time you find this out. Please, trim it off like the instructions tell you to! The seam allowance for the center back seam was removed already in the photo below.


Fuse fleece to the brim pieces (not shown.) Fuse interfacing to the hat pieces, brim, crown and top. The photo above shows black interfacing on a white canvas brim. (We really liked black interfacing in the brim especially for a light colored fabric but it seemed excessive to call for two different colors of interfacing.)
These images below show the top and crown pieces with the interfacing on them. (We use a press cloth below and above when fusing interfacing. If there’s any bleedthrough of the glue or, God forbid, glue side the facing up, it saves you a lot of grief cleaning up your iron and ironing surface.)

Now sewing! Stitch the center back crown seam and press open.

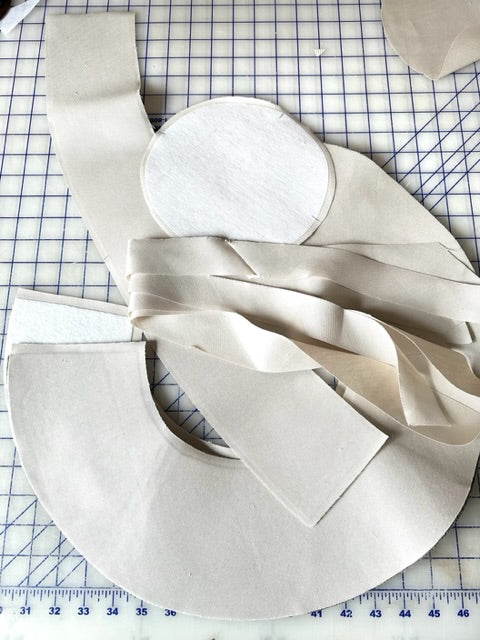
This next part, constructing and applying the hat band, is somewhat fiddly but not hard. Once you get past this part, it comes together fast.You’ll need a bias strip 1 1/2” wide by the circumference measurement of your head plus a few inches. Next, cut the corners off one of the long edges to make the piece a trapezoid (middle photo.) The bottom edge of the hat band needs to be a little bit longer than the top edge because the hat circumference is larger where the bottom edge of the hat band attaches.Press up 1/4” on the longer side.

Leaving a 3/8” extension at the CB, pin the hat band to the crown aligning the raw edge with the placement line, right sides together. Stitch it to the crown, 1/4” from raw edge and leaving another 3/8” extension at the center back. Because of the bias, the hat band might grow as you stitch leaving more of an extension at the end of the seam.
You can fold the crown at the center back seam (top right pic) and align the extensions and trim them to make each side even (bottom left pic.)

Next, press the hat band down to its finished orientation. Tuck in the extensions inside the hat band and have the folded edges abut at the center back as shown (top photos - right and left.)
Edge stitch the top edge of the hat band (not shown.)Then, flip the hat band up again and either hand-baste or safety pin in place so it won’t be in the way when you attach the brim (bottom photos.)

Stitch the top to the crown, right sides together. Please review the information at the beginning of the instructions on stitching a circular piece to a straight edge. It covers how to make these two different shapes go together. The takeaway point is that the seamlines are where the measurements are equal. The cut edges must align while you are stitching but they are of different lengths, so you have to continually adjust keeping the SEAMLINES stacked directly on top of each other.
The Collage below shows the step with the lining fabric but it’s precisely the same action.

Clip the seam allowance on the crown and press the seam open. A pressing ham is helpful to manipulate these pieces but you can do it on the point of an ironing board as well.

Next, stitch center back seam in the brims if you haven’t already done that and press the seam open. 
Stitch the crown assembly to the brim- right sides together. We found sewing clips were the best method of temporary holding the pieces together while stitching.
Clip the seam allowance and press seam allowance towards the crown (lower left hand photo shows pressing the seam with the lining fabric but it’s the same action.) Again, we liked working on a pressing ham for this but it’s possible to do it on the point of an ironing board or on a rolled up towel etc.

You’ve completed the outer hat assembly and in the next installment, will do the line assembly and more!

