Click here for previous installment.
Release the hat band from any basting or safety pins. Press the hat band down into place starting at the center front and working in separate passes towards the center back (working on a pressing ham was our favorite way to do this step but you can get there without one for sure.)
You will see the hat band gently stretching along the bottom edge to accommodate the circumference at the very top of the brim. You can pin the bottom edge of the brim in place as you are going along here. It’s OK to scrunch up the brim to put your pins in - it will recover with no issues. When you get to the center back, you’ll see why the bottom edge needed to be a bit longer than the top edge. Tuck in the short raw edges at the center back and pin in

Edge stitch the bottom of the hat band in place, again check to make sure the lining of the hat doesn’t slip down and get caught in the stitching in the step.

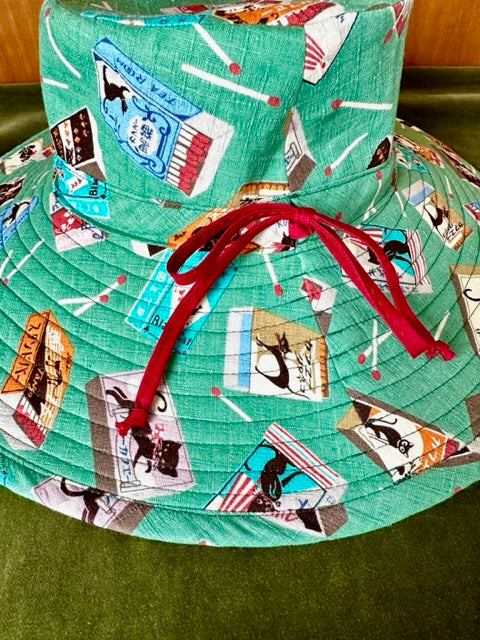
All that’s left is to thread your drawstring through the hat band. A large safety pin will work. We liked using the long metal bodkin. Ribbon or double fold bias tape stitched closed makes a nice drawstring with a flat profile.

Adding a chinstrap is a simple matter of marking the attachment point and stitching it by hand where the brim meets the crown lining as shown. That’s it! You just made a hat! Thanks for joining us and don’t forget to tag your Photos #HildeHat on social media.

