Click here for previous installment of sew along.
We finished the neck edge last time so the Waist Insets are next. The Waist Insets are interfaced according to the instructions. The interfacing stabiles them and reinforces the fabric if you are using a light weight fabric. This will prevent stretching and distorting with wear.
The interfacing is cut with the same pattern piece so first trim off about 1/2" from the perimeter of the interfacing pieces. This leaves the interfacing large enough to extend across the seam line. We didn't photograph trimming the interfacing so here is the illustration from the instructions showing trimming the perimeter of the interfacing.
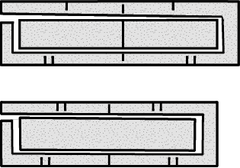
Next, fuse the interfacing to the wrong side of the Waist Inset pieces.
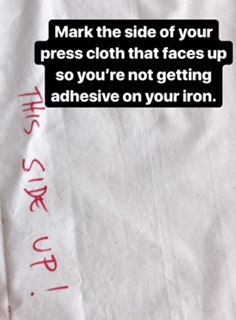
TIP: The adhesive from the fusible interfacing can bleed through the interfacing when you are fusing it to your fabric. Using a press cloth to cover the pieces as you fuse them will protect your iron from getting adhesive on it. We're using a piece of scrap muslin here. Keeping a dedicated "interfacing" press cloth in your sewing supplies can keep your iron cleaner!

Write on the press cloth which side faces up so you are keeping the glue-y side away from your iron plate!
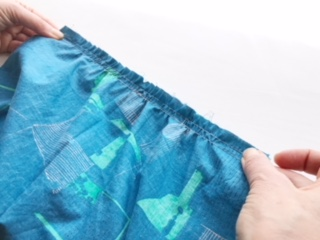
Now pull up the gathers on the Bodice Back Piece to match the Waist Inset Back and stitch them right sides together.
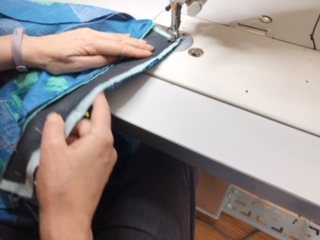
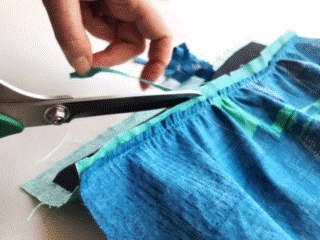
Grade the seam allowance and press towards the Waist Inset. Grading the seam allowance means trimming the seam allowances in a graduated heights so the the shortest height is closest to the body.

Attaching the Waist Inset Front has a bit more to it. With the Bodice Pieces facing right side up, lap them over one another as shown below matching the center front lines. It should like just like the the illustration below. (grey tint represents the right side of the fabric)

Anchoring the Bodice Front pieces together at the center front with a few basting stitches makes it much easier to pull up the gathers and keep all the pieces under control.

Because Bodice Front pieces overlap, there are 2 layers of fabric along part of the waist seam. The gathering is configured so that one layer has gathers and the other layer is flat. Secure the gathering thread at the center front.

Pull up the gathers from the side.

It should look like the photo below when the gathers are pulled up. The gathers end at the center front line and the piece is flat out to the neck binding.
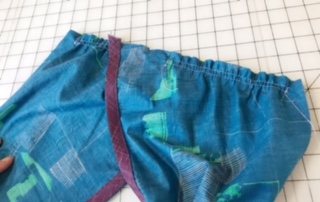
Stitch to the Waist Inset Front, right sides together.
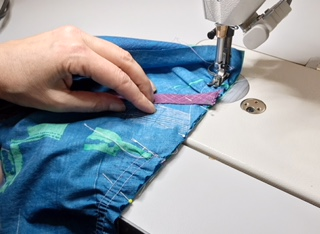
As with the back, grade the seam allowance and press it towards the Waist Inset.

The Skirt Front is next. The skirt pieces for the front and back are cut from the same pattern piece. Designate one as the Skirt Front and make sure to transfer the circles markings the Pocket opening.

Make gathering stitches at the waist edge 3/4" and 1/2" from the raw edge, leaving a 5/8" gap at each side of the piece.

Attach a pair of Pocket Pieces to the Skirt Front, right sides together, matching notches and small circles. Press the pocket towards the sides.

Pull up the gathers on the Skirt Front to match the Waist Inset Front and stitch them right sides together.
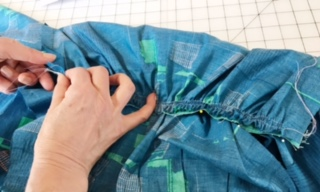

Again, grade the seam allowance and press it towards the the seam towards the Waist Inset.

Attach the Skirt Back to the Waist Inset Back in exactly the same manner, omitting anything regarding Pockets. The remaining Pocket pieces attach to the Side Panel and will happen next time!
That's it for this installment. Next time we face the Armhole Facings!

