Click here for Part 3 in the sew along.
Just One More Thing . . .
Let's make some pleats!
But first a small tutorial on how to adjust the pleats if you are between sizes. Two posts back, we told you to cut the larger size if you are in between sizes. Before you start pleating, you need to alter the pleat guide to take up the extra to get the finished waist size that you want.
For instance, our model has a 33" waist. We cut a pattern size 14 for a 34" waist. There is a difference of 1" between her waist and the pattern size. Divide that difference by 4 to determine the amount of the adjustment; in this case 1/4".
Make the adjustment on the pleat nearest the "side" line on the Pleat Guide Front and Pleat Guide Back. Just move the pleat placement line towards the "side" line by the amount of the adjustment, in this case, 1/4" as shown. That's all there is to it!

Pleat the Skirt Front
FINALLY! Now we are ready to pleat! For reals! As with everything in sewing, you can do it in whatever manner works best for you. The tip we have for you on this project is to refer to your pleat guide early and often! You will have the most control over the pleats and over your outcome if you baste the pleats in place one at a time as you go along - rather than pinning them all at once and then basting at the end. (Again - that is just the way we like doing it. You are welcome to use whatever method you prefer.)
On the right side of the fabric on the the Skirt Front, mark the center front (CF).

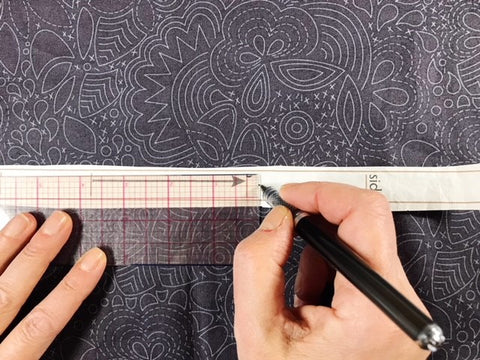
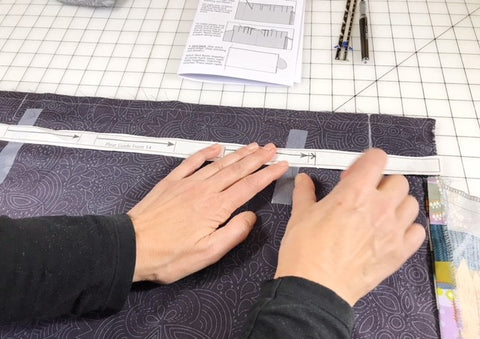
Match up the Pleat Guide Front on the CF and the "side" reference line (SRL) and mark the pleat lines.Another tip from us is to use clear tape to temporarily hold the Pleat Guide in place while you mark the pleat lines.
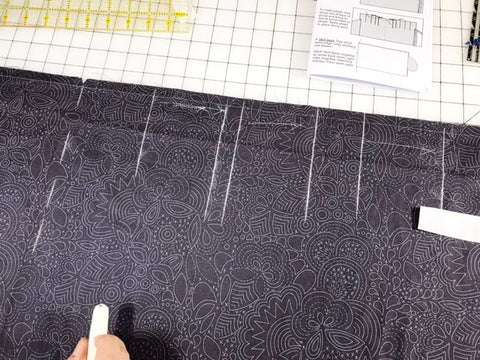
If you have a quilter's hard ruler you can easily align one edge with the waist of the skirt and draw you pleat lines down a good 5" - 6" like we have done here.

To make the pleat, press a crease on the right side of the fabric at the line at the end of the arrow and bring that crease to match the line at the ARROW HEAD.

Press in place.
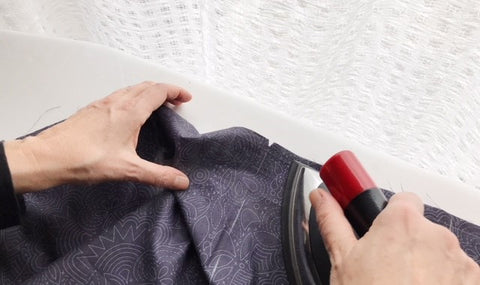
Then, baste it in place immediately before you go on to the next pleat. (We aren't using pins at all in this process since we can hold the single pleat in place with our hands. If pinning the pleat gives you more control, then please pin away!)
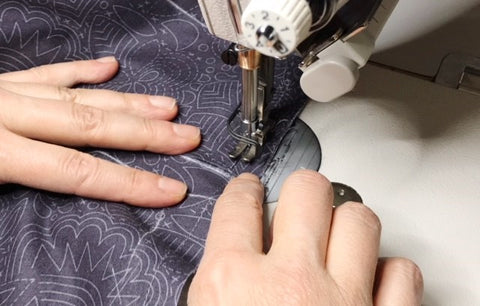
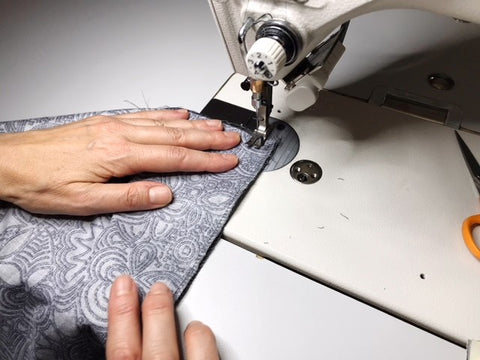
Continue making pleats across the waist line following the Pleat Guide Front and basting in one pleat at a time. (Tip: If desired, you can finger press the crease before bringing it to the placement line and then press in place with the iron. To finger press, just fold along the line as shown and run your pinched fingers along it to crease.)


If you baste in one pleat at a time, it will be easy to refer back to your pleat guide to see if the waist is stretching out while you're working. Tape up the pleats you have made and line up the SRL on the Guide and the skirt and see if the all the lines are matching up.


Make all the pleats on the Skirt front. After pleating up the entire waist edge, the Skirt Front will look like this.

All about that Back
The Back Skirt is simply a repeat of the process for the front with exception of a center back seam. And of course, many many more pleats.
Stitch the center back (CB) seam and press the seam open.

We used chalk to mark the pleats. We marked the CB seam to make it easy to see since it is the placement line for the first two pleats.


Starting at the CB, there are a series of pleats that have 2 pleats stacked directly on top of each other. The process is EXACTLY the same as the front.
Press the fabric on the line at the end of the arrow and bring that creased line to the line at the arrow head. The first placement line is the CB seam shown below.
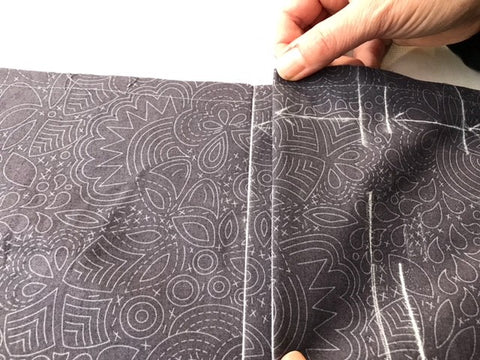
Press in place.

Then baste it in place.

Make the next pleat exactly the same way. The placement line where you bring the pressed edge is the same as for the first pleat you just made (in this case, the CB seam.)
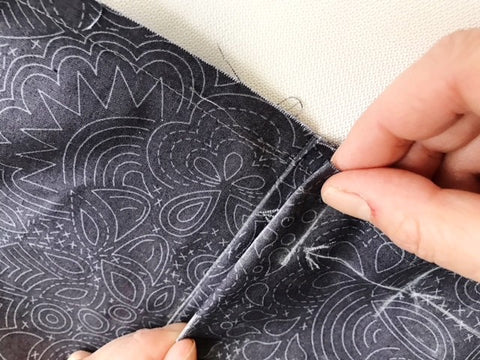

And baste it in place. It is stacked precisely on top of the pleat you just made.
The next 3 series of pleats on the Pleat Guide Back have the same configuration of 2 pleats stacked directly on top of one another. Just work your way along the Pleat Guide marking and basting each pleat in place as you go. Below is the next set of stacked pleats pressed in place.

And so on and sew on. The third set of stacked pleats below.

And the final set of stacked pleats in place (below).

After the stacked pleats, there are just a few more regular single pleats until you get to the side. Continue until all the pleats are made. As suggested with the Skirt Front, compare the Skirt Back to the Pleat Guide and make sure the waist edge is not stretching out. (if you find that it is, you can absorb any extra in the pleats as you go.)
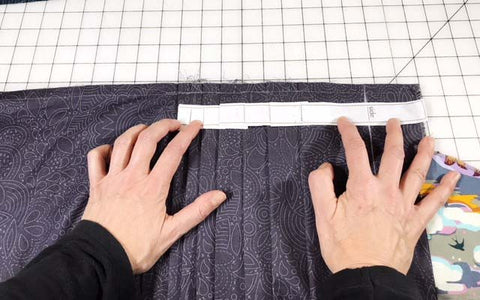
After pleating the entire waist edge, the back of the skirt will look like this.

See you next time for zipper installation!
Click here for the next installment in the sew along.

